

KS2 DIY Cobra Bag
Share
The KS2 DIY Cobra Bag is where the Kewlus story began - giving people the option to make their own high-performance cobra bag using low-cost, off-the-shelf parts such as standard plumbing pipes, chipboard and a pool noodle. At the heart of the setup is the purpose-designed KS2 "Classic" Spring, which turns these simple materials into an exceptionally fast and responsive training bag.
Order KS2 SpringTarget Ball: The target ball is made from sections cut from a single pool noodle, which you can buy from Kmart for just a few dollars. Wrapped in an outer skin of duct tape, it delivers a very satisfying punching feel and rebounds beautifully. Because it is lightweight, it moves extremely fast. You can also add a little extra weight simply by applying more duct tape. Best of all, unlike a regular cobra bag target with an inflatable bladder, it never needs to be pumped up.
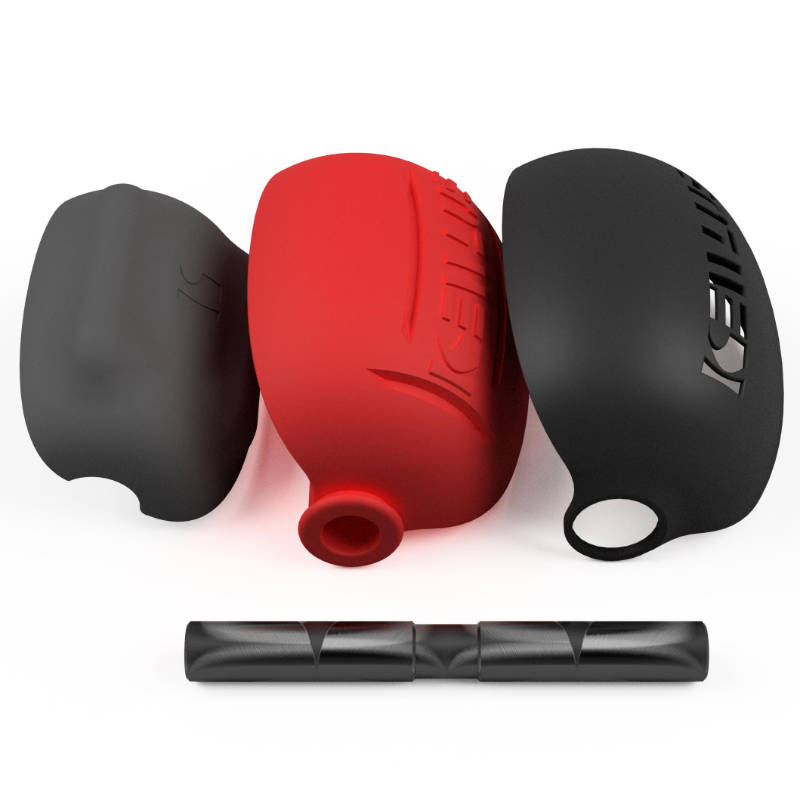
Spring: The KS2 "Classic" Spring has been refined over several years to deliver the fast rebound speed that works so well with the lightweight DIY target ball. I keep the price of this spring as low as I reasonably can, so more people have the opportunity to make and own a high-performance cobra bag.
Base: The base can be made by gluing together multiple MDF or chipboard panels using heavy-duty construction adhesive. I take the design a step further by cutting off the corners and reusing them as feet. This creates a base that is similar to the OctaBase in shape, height and stability, but without the price tag.
Part 1: Make the Top Section
Items You Will Need
- KS2 "Classic" Spring
- One pool noodle
- Standard ¾″ PVC pipe (approximately 1.05″ outer diameter) - start with approximately 24″ in length
- Wide, stretchy PVC duct tape
- Serrated knife
Make the Target Ball
- Cut a 6″ section from the pool noodle. This becomes the centre of the target ball.
- Cut a second 12″ section of pool noodle and split it lengthwise.
- Wrap each of the split sections around the 6″ centre piece and tape them firmly into place.
- Cut an 18″ section of pool noodle and split it lengthwise.
- Use one of these split sections to wrap around the middle of the target ball, then tape it into place.
- Wrap a small amount of tape around one end of the PVC pipe to form a cone shape. This will make it easier to push the pipe through the centre of the target ball.
- Thread the target ball onto the PVC pipe.
- Using the wide, stretchy duct tape, wrap from the bottom of the target, over the top and back down to the bottom again. Repeat this one section at a time until the entire target is covered.
Choose the Top-Section Length
Start with approximately 24″ of PVC pipe. A longer top section gives the target a greater range of movement and works well for defensive training, but it will move slightly more slowly. A shorter section increases speed but reduces the range of movement.
I do not recommend cutting the pipe shorter than approximately 20″. It is best to start longer and shorten it later if you decide that you want a faster rebound.
Attach the Top Section to the Spring
Insert the PVC pipe approximately 2″ into the KS2 "Classic" Spring, then secure it tightly using the wide, stretchy PVC duct tape.
Part 2: Make the Mast and Base Connector
Items You Will Need
- One length of 1″ galvanised pipe for the main mast
- One short section of standard ¾″ galvanised pipe (approximately 1.05″ / 26.7 mm outer diameter) for mounting the spring
- One 1″ to ¾″ reducing coupling
- One galvanised flange sized to match the 1″ main mast pipe
- Wide, stretchy PVC duct tape
- Thick, long screws that fit through the flange holes for attaching the flange to the base in Part 3
Choose the Mast Height
Choose the combined length of the mast pipes so that the spring sits at approximately hip level and the target ball sits around shoulder or chin level. The top of the mast will generally sit around the top of your thigh.
Remember to allow for the height of the base when choosing the length of the main mast pipe. The DIY base in Part 3 will be approximately 5″ high.
Make the Mast
- Use a 1″ galvanised pipe for the main mast. This gives the cobra bag a more solid base connection than using ¾″ pipe for the full mast.
- Fit the 1″ to ¾″ reducing coupling onto the top of the main mast pipe.
- Fit the short section of ¾″ galvanised pipe into the reducing coupling.
- Insert the ¾″ pipe into the KS2 "Classic" Spring and secure the spring tightly using the wide, stretchy PVC duct tape.
- Attach the galvanised flange to the bottom of the 1″ main mast pipe.
Prepare the Base Connector
When attaching the flange to the DIY base in Part 3, use the thickest and longest screws that will fit through the flange holes. This is one of the reasons the DIY base needs to be solid and approximately 5″ thick.
Optional Adjustable Upgrade
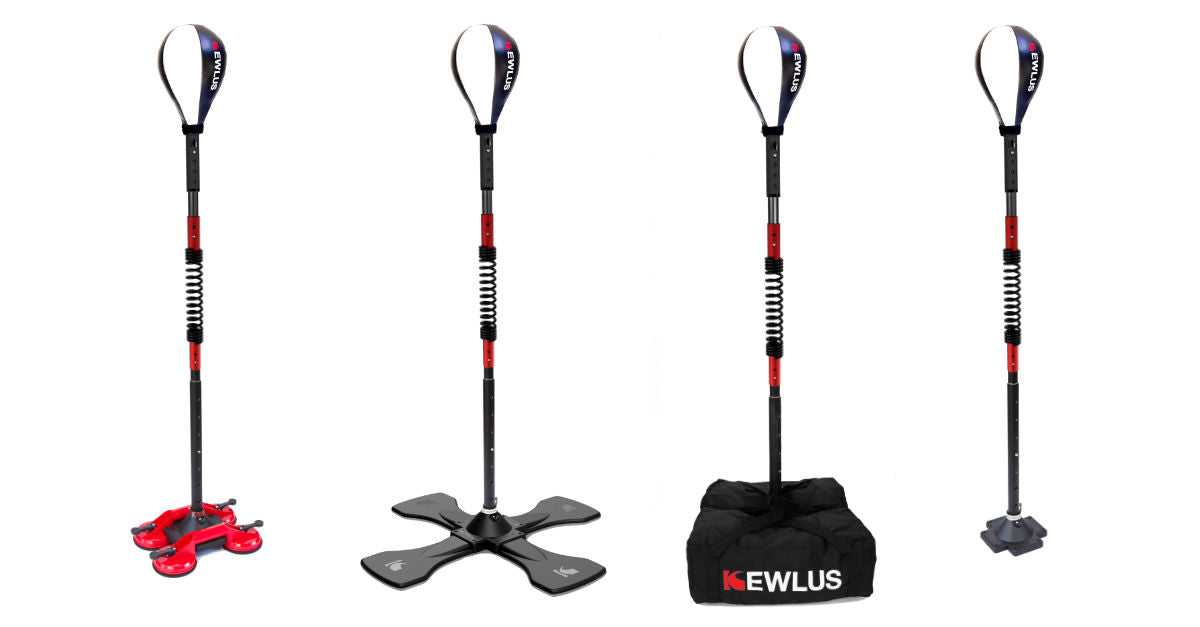
A galvanised-pipe mast is fixed at one height. If you later want an adjustable setup for different members of the family, you can upgrade to a KEWLUS Mast, Click Bar and Base Connector.
Part 3: Make the Base
Items You Will Need
- MDF or chipboard panels, each approximately 18″ × 18″
- Heavy-duty construction adhesive, such as Liquid Nails
- Four heavy-duty screws with Allen-key or hex-bolt heads, sized to fit the holes in the galvanised flange
- Drill and drill bit for pre-drilling the screw holes
- Approximately 100 lb of weight, such as sandbags or weight plates
- Optional: two fixed caster wheels for moving the loaded cobra bag
- Optional: long reinforcing screws if caster wheels are added
Make the Base
- Cut the MDF or chipboard panels to approximately 18″ × 18″. Do not go smaller, as this will compromise stability and performance. Going much larger can make it harder to place your feet close to the base while training.
- For an octagonal shape, measure 5″ from each corner along both adjoining edges and cut off the corners. This creates eight sides of approximately 7″ each.
- Keep the corner pieces. They can be glued underneath the base to add height and help prevent the base from sliding on carpet.
- Glue the four main panels together using heavy-duty construction adhesive. If you are using laminated boards, allow several days for the glue to set properly before using the base.
- Glue the saved corner pieces underneath the base in stacks of three. Use two stacks near the front and three stacks across the back to create a raised support structure.
Attach the Flange
- Position the 1″ galvanised flange in the centre of the base.
- Pre-drill the holes to reduce the risk of splitting the timber.
- Use the thickest screws that will fit through the flange holes. Screws with Allen-key or hex-bolt heads are strongly recommended because they can be tightened with much more torque than standard Phillips-head screws.
- Tighten the flange firmly and check that there is no movement.
- Re-check the flange after a few days of training. If it begins to move, use larger screws. You can also add a small amount of glue into the screw holes before tightening the screws.
Add Weight
Add approximately 100 lb of weight to the base. A pair of sandbags will work, but a particularly rigid setup can be made using a round sandbag with a weight plate on top. Make a simple paper sleeve around the mast to fill the centre gap and keep the weight stable. This also helps protect the flange from excessive forces while training.
Optional Caster-Wheel Upgrade
For easier movement, attach a pair of fixed caster wheels to the rear edge underneath the base. Do not use swivel wheels. Position the wheels so the loaded cobra bag can be tilted onto them and rolled into place without removing the weights.
Reinforce the underside with long screws if needed, so the base can safely handle the heavy load while tilted onto the wheels.