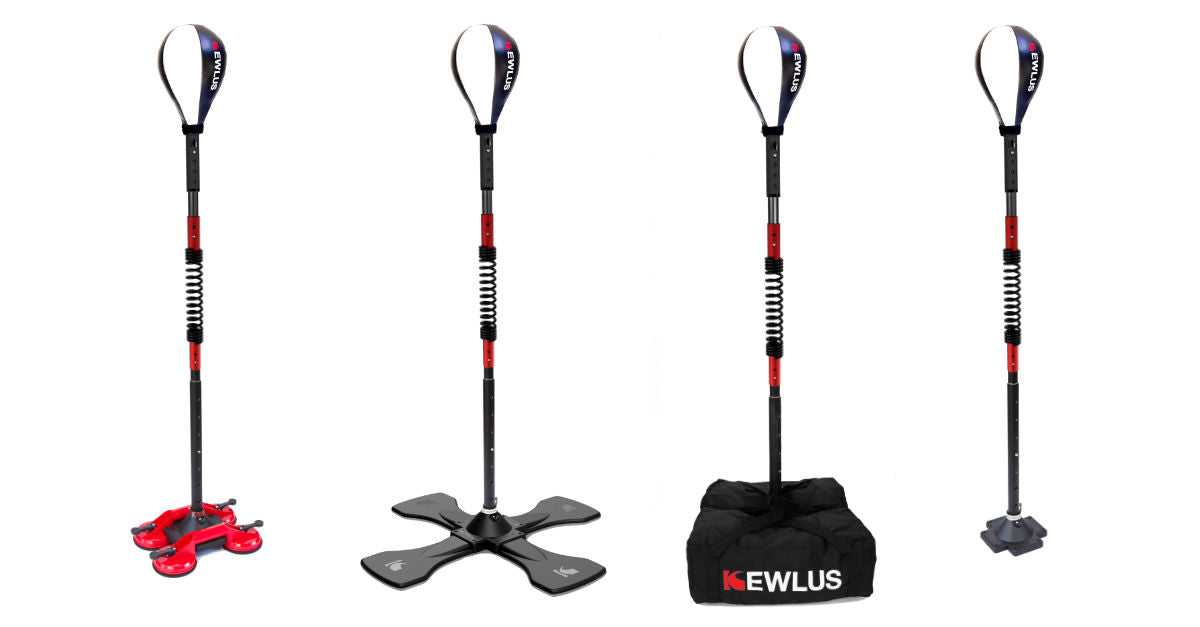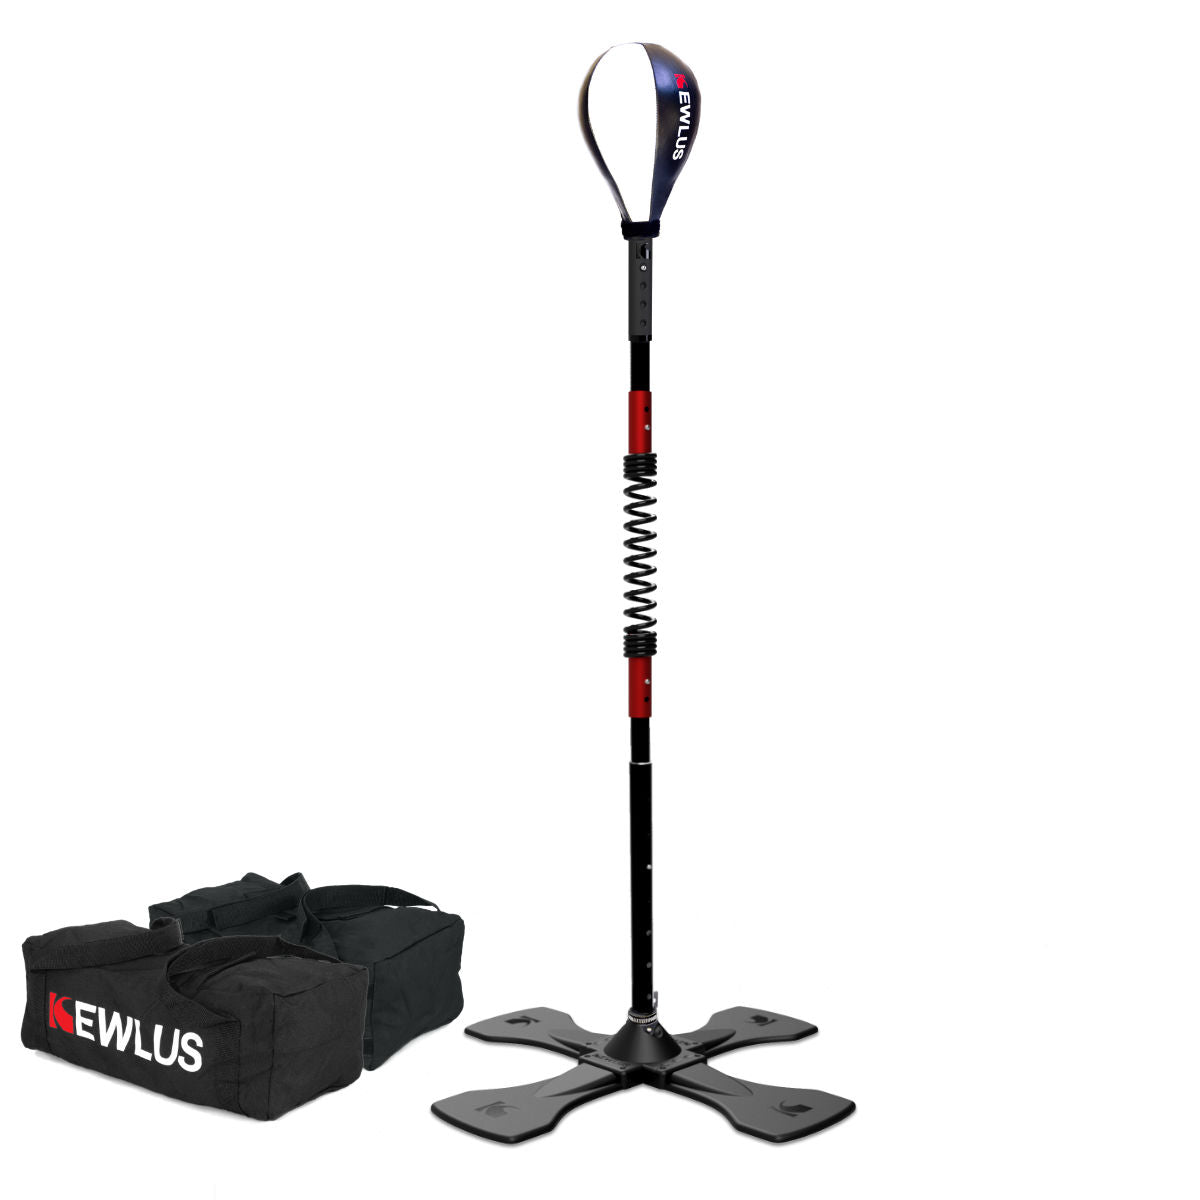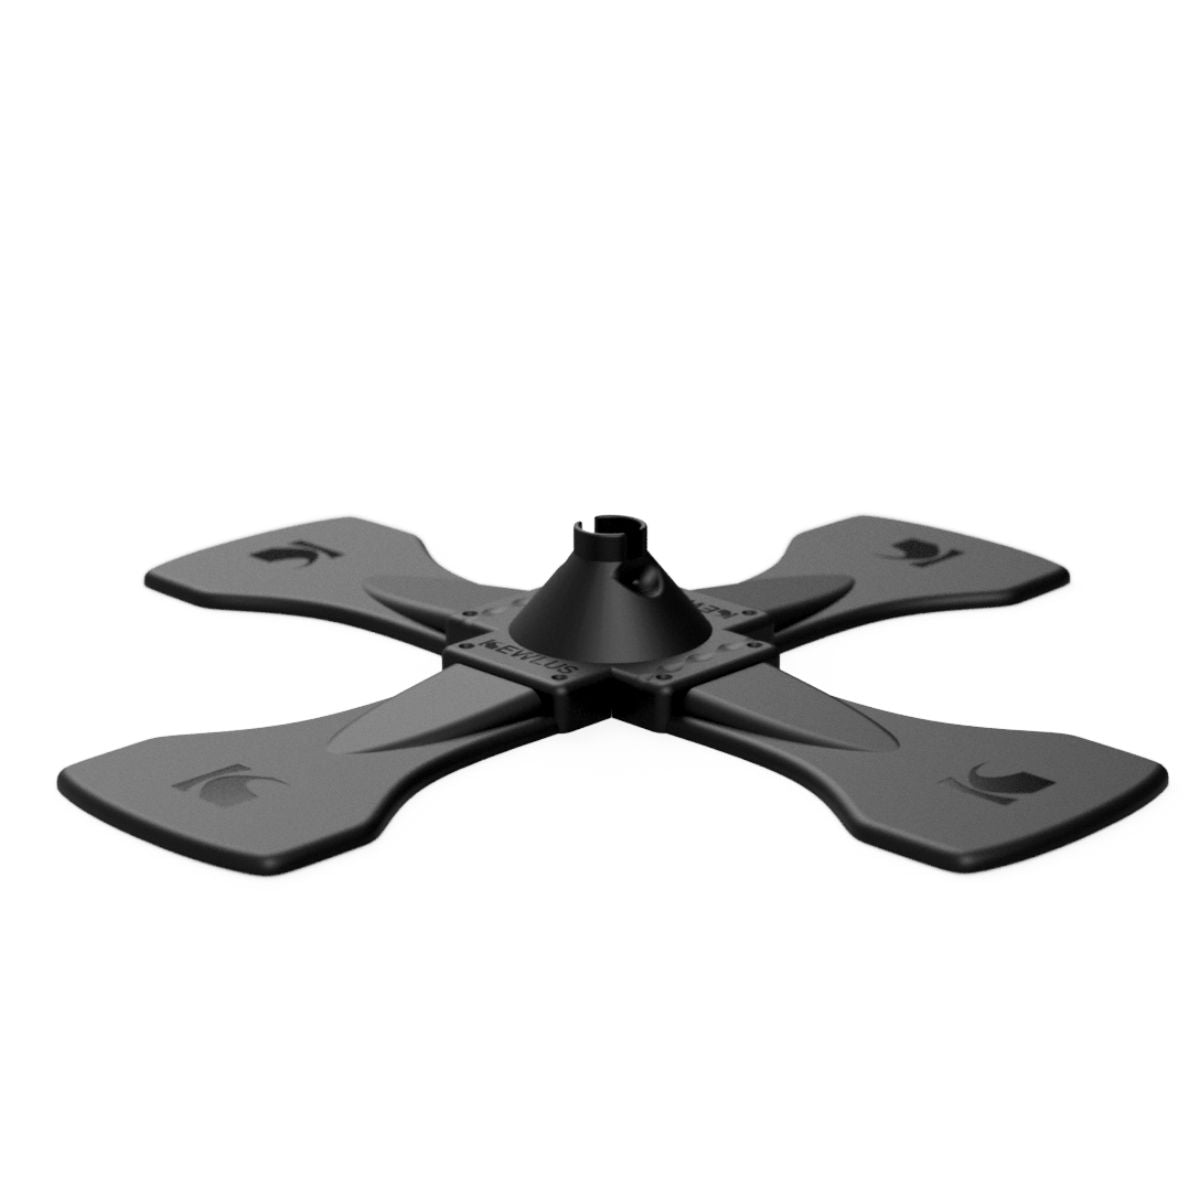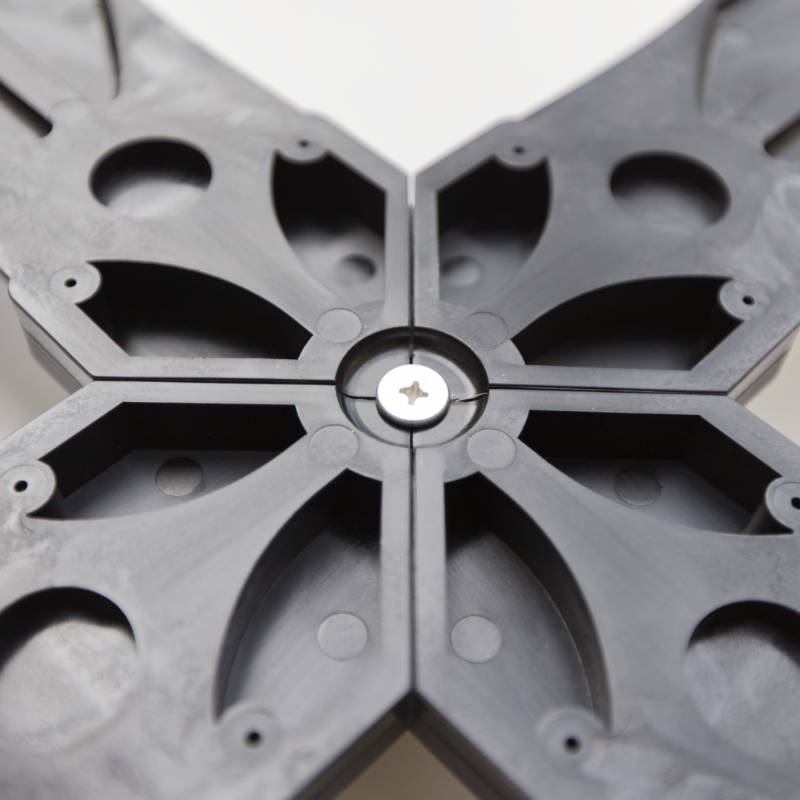
How To Make a Cobra Bag Base
Share
Intro
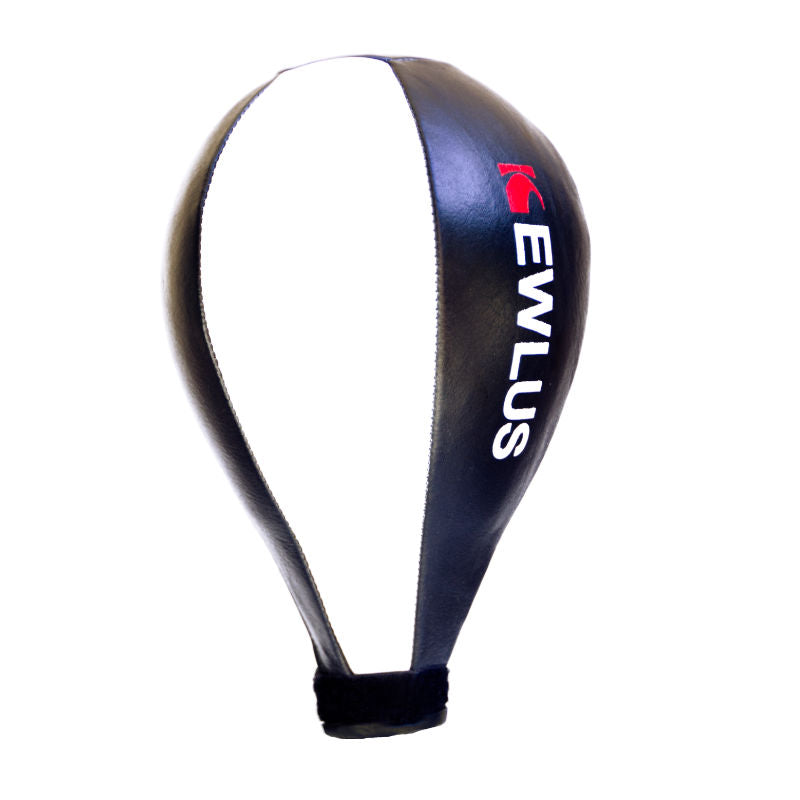
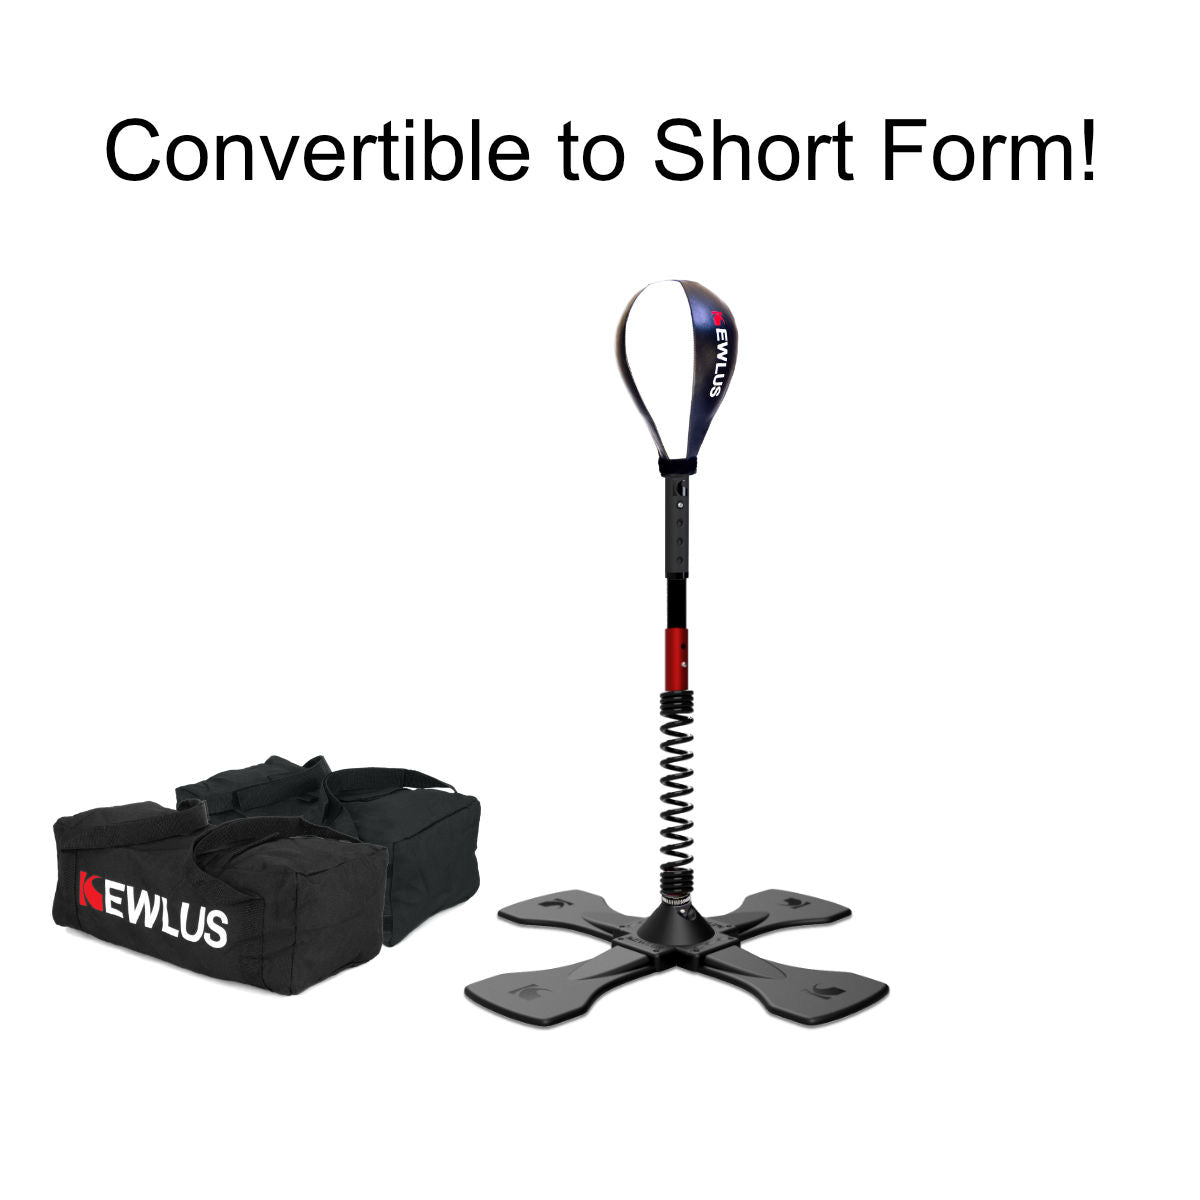
This is the DIY base you can make if you have purchased the Kewlus Cobra Bag top section kit.
Please note, if you have purchased the complete kit including the Multi Base, please refer to this video to make a baseboard only.
Prior to starting, check out this video for a quick overview:
Items You Will Need:
- 1 inch galvanised pipe - for the main section of your mast I recommend using a 1 inch galvanised pipe. This pipe is roughly 1.32 inches (33.6mm) outer diameter. The length you need will depend on your height - you want this pipe to reach from the floor to the top of your knee, or roughly 1/3 of your own height. So, for me (I'm 6 foot tall) it's a 2 foot long pipe.
- 1 inch galvanised flange - the 1 inch pipe will screw into a 1 inch flange, which you will bolt to your MDF or chip board.
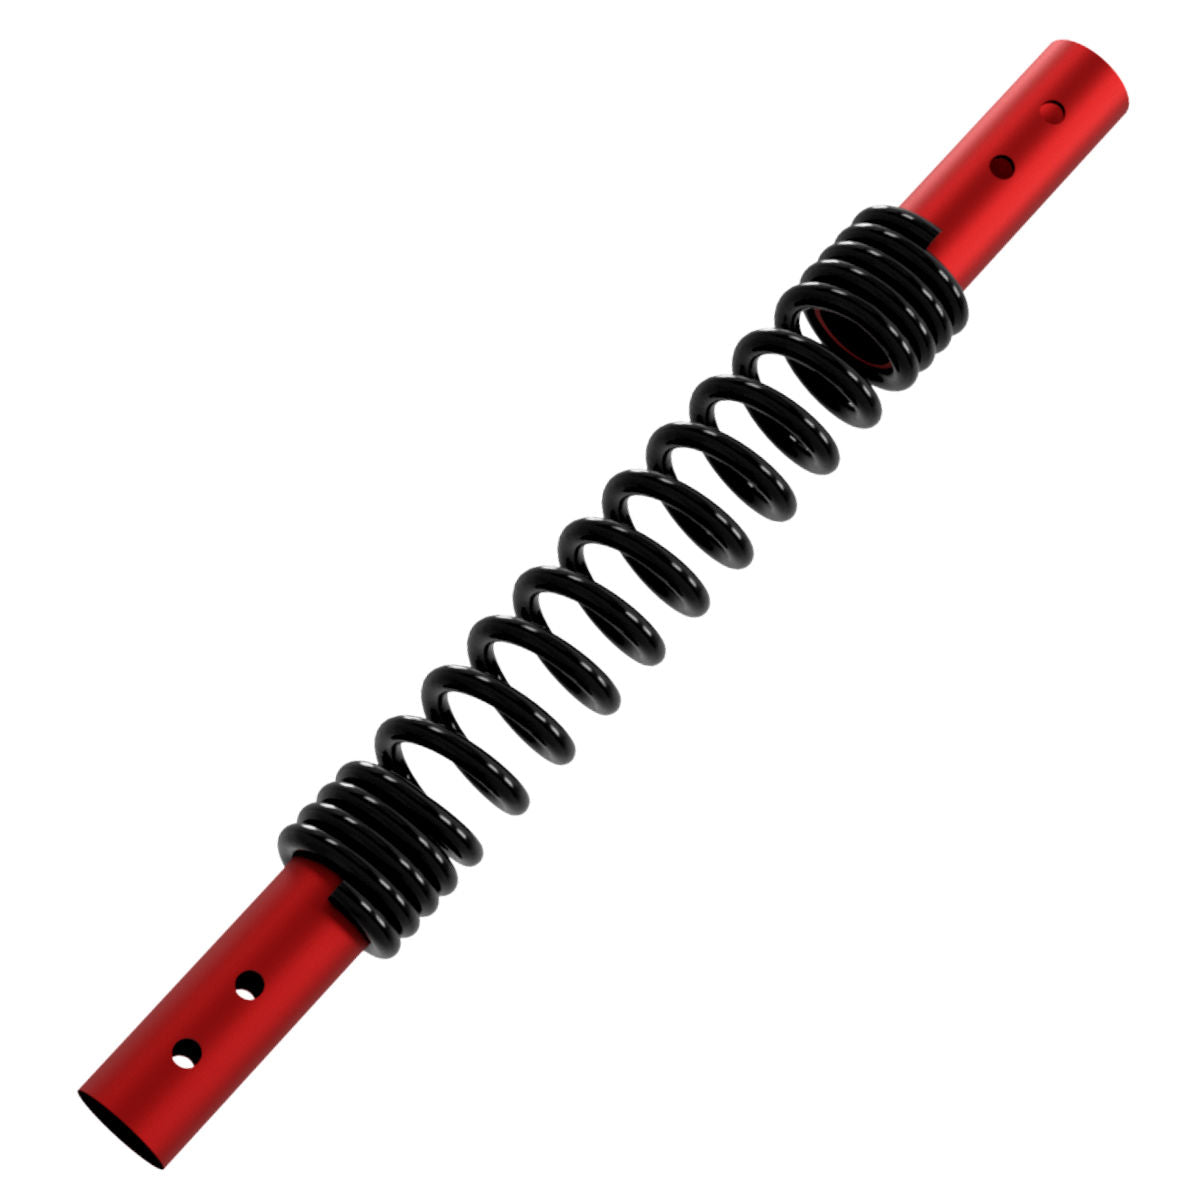
- 3/4 inch galvanised pipe - this is a 4 inch long pipe onto which the PRO Spring will be mounted. This pipe is roughly 1.05 inches (26.7mm) outer diameter - this diameter is crucial as the PRO Spring fits perfectly onto this pipe.
- 3/4 inch to 1 inch reducing coupling - this is a galvanised coupling that allows you to connect your 3/4 inch pipe to your 1 inch pipe.
- 3/4 inch MDF/chipboard/particle board - you need at least 2 x 2 foot board for best stability.
- 4 x 5/16 inch (M8) bolts and nuts to bolt on the flange to your chip board. The length of the bolts need to take into account the thickness of your board and the flange. In most cases 2 inch bolts should be long enough.
- 4x small rubber feet - you'll need a set of rubber feet to attach to the underside of your chip board to provide clearance for the bolt heads. I use a set of these rubber feet from Bunnings in Australia: https://www.bunnings.com.au/surface-gard-22mm-white-rubber-screw-on-bumper-4-pack_p4050036. Alternatively you could simply glue on round wooden discs or squares to the bottom of your board. They just need to be thicker than the bolt heads. For example, you could cut off the corners of your chip board and glue them to the underside to provide the clearance.
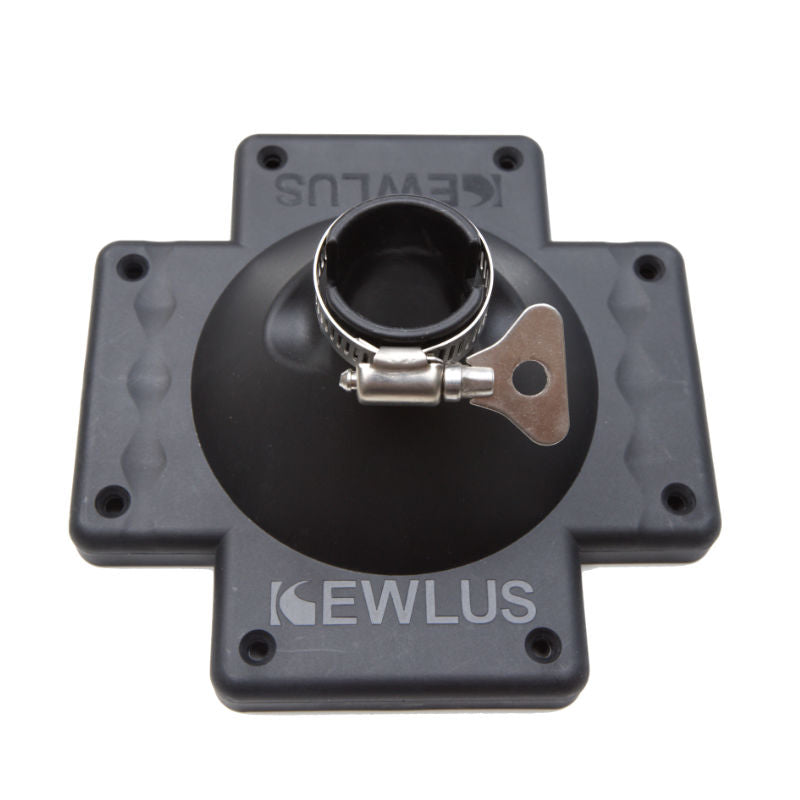
- Roll of wide duct tape - to tape the bottom of the PRO Spring to the 3/4 inch pipe. Alternatively you could also use a butterfly hose clamp (1.3-1.7 inches diameter).
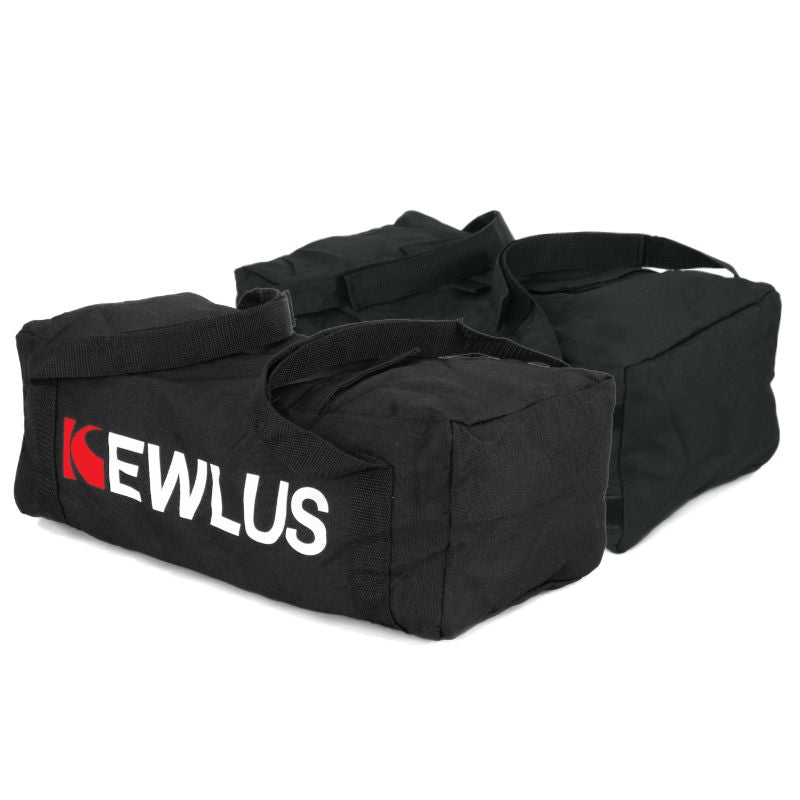
- 2 x 40 pond sand bags - these will weigh down your base nicely. 80 pounds in total should be sufficient for the PRO Spring cobra bag. I have found that sand bags are best at dampening base vibrations, thus making your cobra bag more effective.
4-Step Instructions:
- Drill the holes using the correct size drill bit to match your bolts, securing each bolt as you go. Position the flange in the centre of your board and mark the holes. Start by drilling out your first hole and attaching the flange using just one bolt through that hole. Put the bolt through from the underside of the board and secure the nut on top of the flange. Drill your second hole through the hole in the flange and secure the second bolt. Continue drilling out and securing the last two bolts. By using the flange as a guide to drill your holes you'll ensure perfect fit.
- Attach your rubber feet (or wooden spacers) to the underside of your board at the corders or equally spaced around the perimeter. These will provide clearance for your bolt heads, ensuring that your board is stable.
- Screw in your 1 inch pipe and tighten. Screw the reducing coupling and then the short 3/4 inch pipe section. Tighten the lot.
- Mount your Kewlus Cobra Bag Top Section Kit and secure it to the 3/4 inch pipe using a hose clamp or duct tape.
Place your sand bags onto the base board and enjoy!
