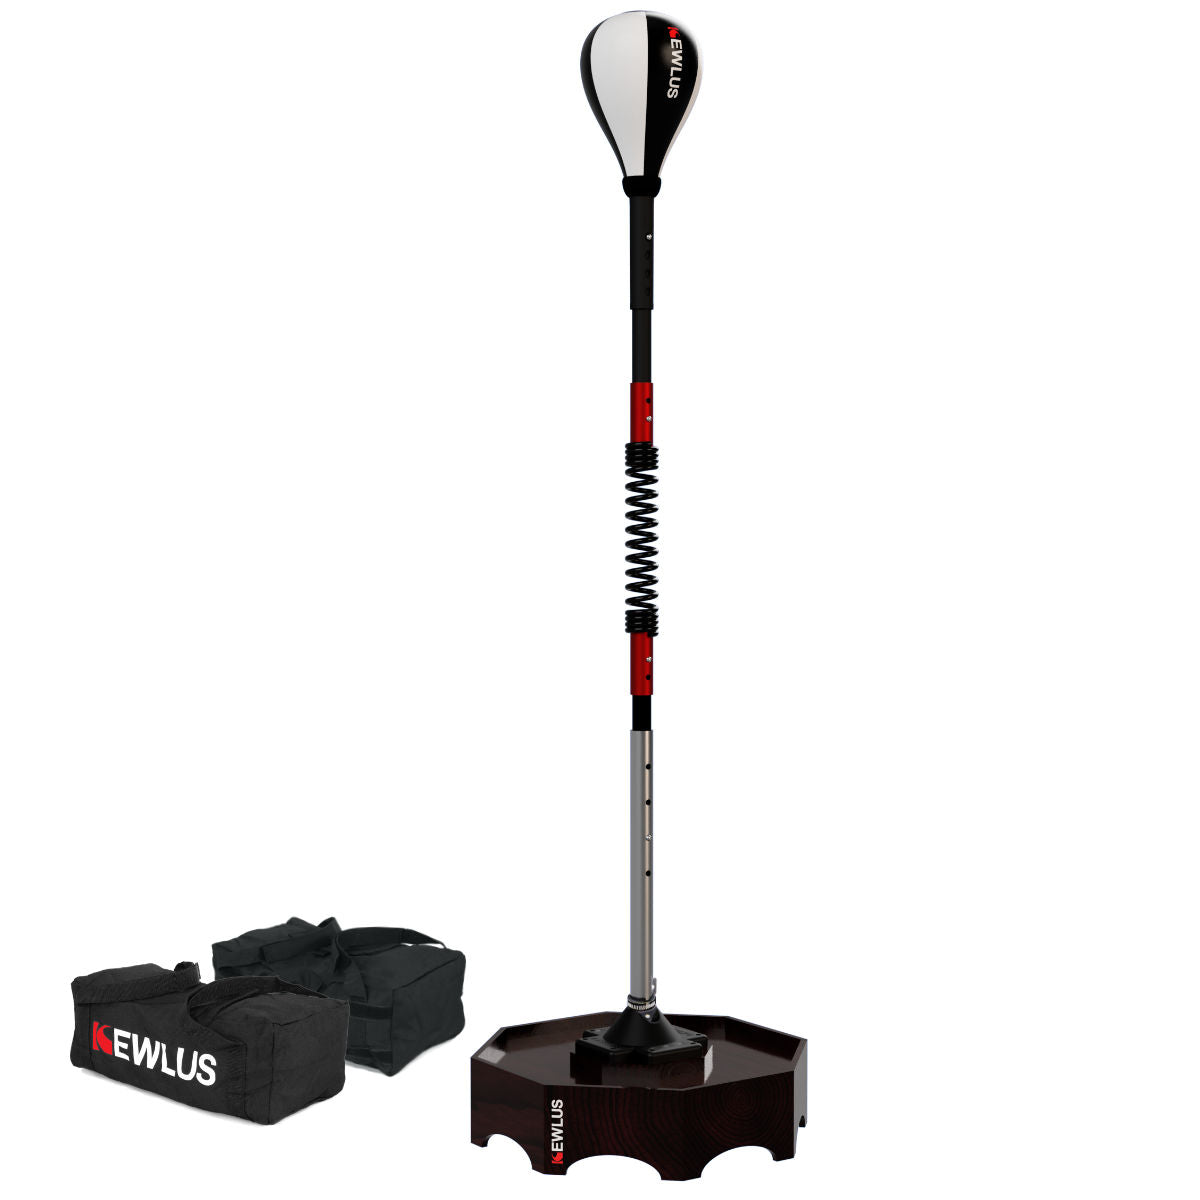


How To Make a Cobra Punching Bag using a Fishing Rod
Share
Intro
I've made plenty of cobra reflex punching bags, many of which are based on a flexible rod such as a fibreglass fishing pole. Check out some of my earlier videos on YouTube where I have even used PVC pipes for the rod: https://www.youtube.com/ReedyKewlus - this one in particular that has had one million views: https://youtu.be/UnKfsPsTAz4.
However, in my tests many have broken after a number of sessions, like this PVC pipe one: https://youtu.be/7NcGBFhck6c. Thus after testing all types of materials to use for the rod, I recommend using a fishing pole/rod as the most reliable and best performing rod. Fishing rods are made to continuously flex and not break, so they are ideal for a rod-based reflex cobra punching bag.
Check out this video for how to put it together and to see it in action:
Items You Will Need & Options:
- Fishing rod: ideally a 2-piece fishing rod/pole such as this one on Amazon USA: https://amzn.to/2Vs5Qkw.
- Short (about 6 inches or 150mm long) one inch (25mm) galvanised pipe and a matching one inch (25mm) galvanised flange.
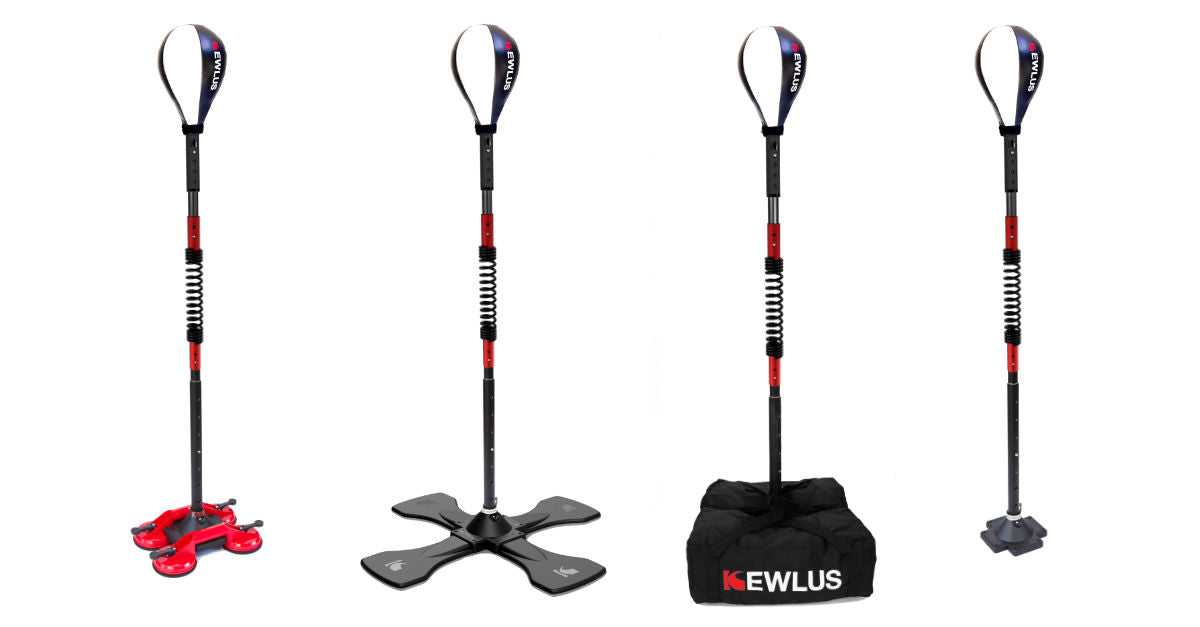
- 2 foot x 2 foot (or larger) 3/4 inch (or 16mm) chipboard or MDF board for the base. Optional: Suction Cup Base - I use a suction cup base in all of my latest builds because it's small, rock solid and is easy to setup and put away. You can even set it up on carpet by simply using two laminated chip boards and have the suction cup base connecting the two. Refer to the following page for the instructions on how to make it: https://kewlus.com/blogs/diy/how-to-make-suction-cup-base.
- M8 or 5/16 inch set of 4 bolts, nuts and washers that are 1.5 inches (40mm) long. These will be used to bolt the flange to the board.
- Small ball - slightly larger than a tennis ball, but not too large. You can also use a small foam ball with the advantage of never having to pump it up.
- Small plastic funnel - I recommend getting a set like this one on Amazon USA: https://amzn.to/3jIQVe3. Then you can use the one that fits best.
- Duct tape - get the stretchy type PVC tape.
Instructions:
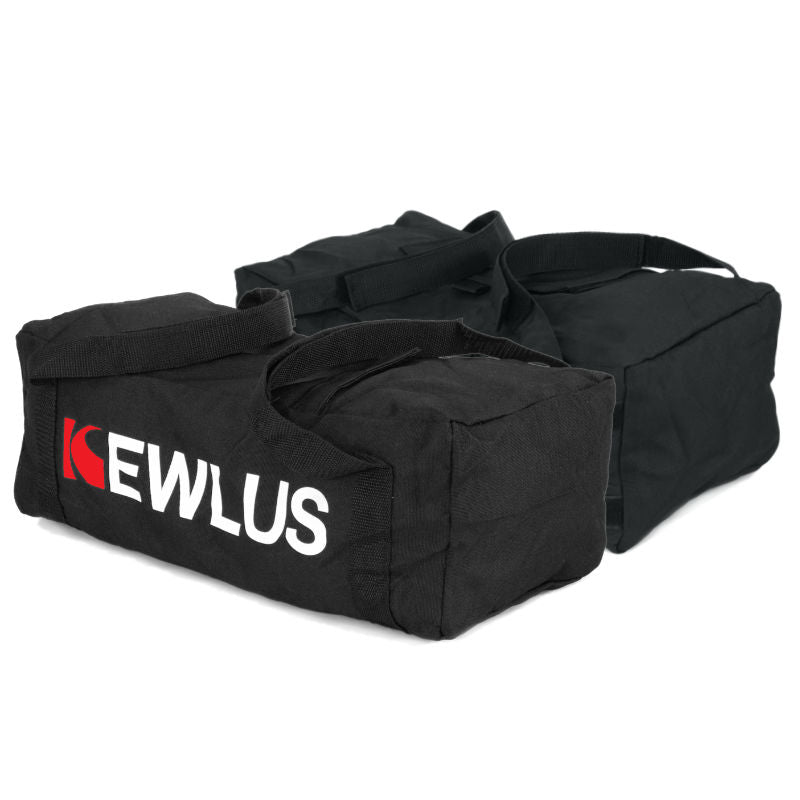
- Set up your base by bolting your 1 inch flange to the centre of your board. The best way to do this is: place your flange in the centre, mark a single hole and drill it out; bolt the flange to the board using a single bolt through the hole you just drilled; drill out the rest of the holes using the flange holes to guide the drill bit into the board; place a bolt through each hole as you go until all the bolts are secured and the flange is bolted in place. Bolt heads should be on the underside of the board. If you'll be using it on a hard floor, you'll need to attach some small rubber feet on the underside of the board for clearance. Place some weights onto the board - you can use 2 x 10 litre water containers if you don't have any weights.
- Screw your short 1 inch pipe into the flange and insert your fishing rod into the pipe. Most fishing rod handles are 1 inch in diameter, so should fit perfectly. If it is too loose, wrap some tape around the fishing rod handle to make for a tighter fit. Secure it in place with duct tape.
- Cut off access fishing rod to suit your height - it should reach to just below your chin. IMPORTANT: make sure to wear protective goggles or glasses and a breathing mast when cutting fibreglass as glass particles can be hazardous.
- Take out the top section of your rod and wrap some tape around the tip so that the tip fits perfectly inside the funnel nozzle. Watch the video above to see how best to do this. Once you have a perfect fit, tape the funnel in place.
- Tape your ball to the top of the funnel. You may need to cut off some of the funnel lip to get a good fit between the funnel and the ball. Once the ball is securely taped to the funnel, insert this top section back into the bottom section of the fishing rod and tape it in place.
That's it! Good luck, have fun and if you can, please share it on Instagram with #kewlus so that we can grow our fighter DIY community.